| Notices |
Hello!
Either you have not registered on this site yet, or you are registered but have not logged in. In either case, you will not be able to use the full functionality of this site until you have registered, and then logged in after your registration has been approved.
Registration is FREE, so please register so you can participate instead of remaining a lurker....
Please note that the information requested during registration will be used to determine your legitimacy as a participant of this site. As such, any information you provide that is determined to be false, inaccurate, misleading, or highly suspicious will result in your registration being rejected. This is designed to try to discourage as much as possible those spammers and scammers that tend to plague sites of this nature, to the detriment of all the legitimate members trying to enjoy the features this site provides for them.
Of particular importance is the REQUIREMENT that you provide your REAL full name upon registering. Sorry, but this is not like other sites where anonymity is more the rule.
Also your TRUE location is important. If the location you enter in your profile field does not match the location of your registration IP address, then your registration will be rejected. As such, I strongly urge registrants to avoid using a VPN service to register, as they are often used by spammers and scammers, and as such will be blocked when discovered when auditing new registrations.
Sorry about all these hoops to jump through, but I am quite serious about blocking spammers and scammers at the gate on this site and am doing the very best that I can to that effect. Trust me, I would rather be doing more interesting things with my time, and wouldn't be making this effort if I didn't think it was worthwhile.
|
| Consumer Reports Looking for, or want to leave feedback about a product? This is the place for that sort of info! |
 04-22-2010, 10:31 PM
|
#1
|
|
|
DIY Lightbox
Here's a nice tutorial for anyone interested in taking photos with the aid of a lightbox. I've seen many tutorials where the finished products are unattractive card board box cut-outs. The following lightbox, however, seem very presentable.
( I haven't built this particular lightbox, so I cant tell you if this will get the job done...but the tutorial seems pretty good)
What I'm really looking for, though, is a DIY lightbox made from fabric. I've heard that certain fabrics work better than most other materials. I'm wondering if anyone has ever built such a lightbox? If so, would you please be able to post some info about it? (pictures of the items you've photographed, pictures of the lightbox itself, etc..). Myself (and many others, I'm sure) would really appreciate it. Thanks!
Quote:
DIY Light box for product photography
Building a light box is pretty easy stuff. A light box is particularly useful for product photography where you need a nice white background. Many people find that their products will actually sell faster with a more professional looking photo. Here you'll find a step by step on how to build your own DIY light box.
This thing isn't really rocket science at all. I think it's more the technique that people would be interested in. I've received a lot of e-mails asking about the light box so I hope this will be a help to anyone wanting to stay inside during the winter months and take shots of random stuff from the fridge.
Materials Needed

Foam Board
You'll need 5 sheets of foam board, also called foam core or foam poster board. If you go to the local craft / art store you should be able to pick up large sheets for just a few dollars a piece. I have a huge box in my basement and the pieces were $4.99 a piece. The board used in this tutorial was $1.99 a piece (each piece is 30" x 20"). * My recommendation is to get a thicker piece for the bottom where the object will sit.
White Tape
The tape I'm using is between 1" and 2" wide white masking tape. Stay away from duct tape, as the heat from the lamps makes the glue really messy. This masking tape is nice and lightweight and if you need to, you can take the tape off to re-adjust.
Lamp / Light Bulbs
I'm using clip-on shop lights from Home Depot / Lowe's. You can pick these up for just a few dollars a piece.($3-$9) I'm using just a standard bulb from Home Depot. I've tried all sorts of bulbs. To your eye they may all look the same, the camera picks up different colors from different lights.
Edit
I tried full spectum bulbs and really have to say that they're not worth it. Learn to set the white balance on your camera and shoot in RAW if possible. *Above all, I favor and would suggest using a flash directed straight up into the top of the box, this is THE BEST WAY TO GET A GOOD WHITE BACKGROUND - (see the diagram below).
Other
You'll need a razor knife and a straight edge.
Instructions
1. Attach the Top and Bottom
Here is a quick sample of how I apply the tape. I know it's overkill to show this but I'd rather err on the side of being thorough.


2. Attach the Left and Right
It may be hard to see how it will come together, but I just applied the left side (which is at the top of the photo below). Do the same for the right side.
3. Cut Off Overhang on the Sides
Left: Shows the box with the overhang on left and right side. Middle: Shows using a straight edge to cut the excess. Right: Shows the box with the sides trimmed down.

4. Cut Notches in Sides
This is something I just recently started doing. I found that I wasn't able to set the lights deep enough so cutting a notch in the side helps. You may have to skip this step and see the final deal, then you'll get the idea. The notches I cut were only a few inches deep, you could do more or less. Make it work for you. *If you're using a flash this step is unnecessary.

5. Lights
You can see I added a few more lights. The more the better in my opinion. *Use a flash if possible.

Showing the outside of the box.

Use this light box with a Flash. Here would be a sample illustration of how to use the flash with this setup. This works like a charm.

Optional Step
You can apply a strip of tape to the back seam on the bottom. Apply it so the tape forms an even transition between the two pieces of foam core. This hides the back seam so you don't have any shadows in the background. Here is a quick and dirty illustration to show what I mean:

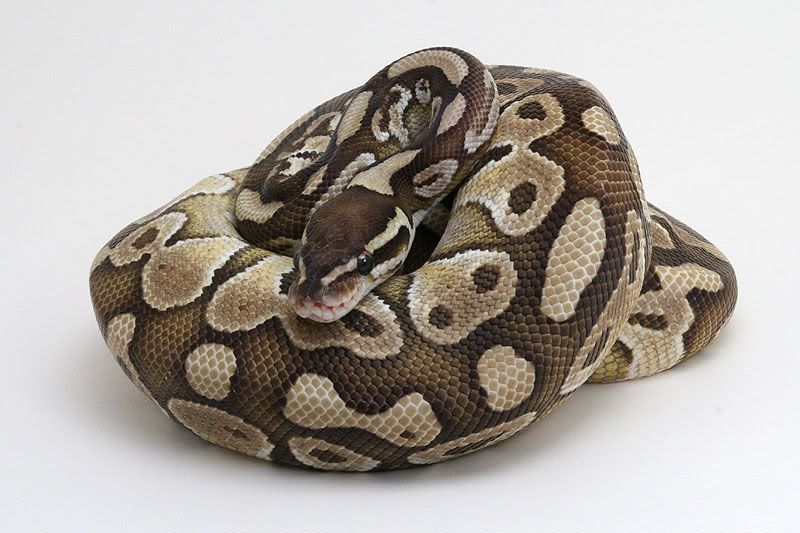
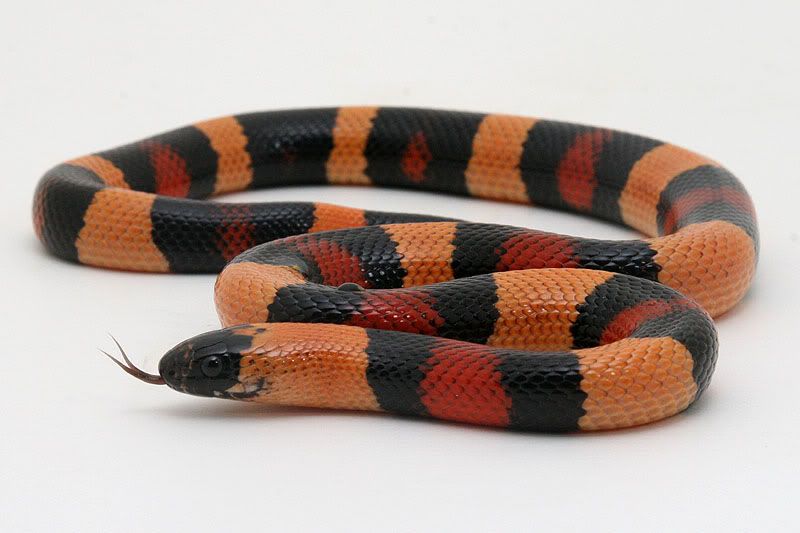
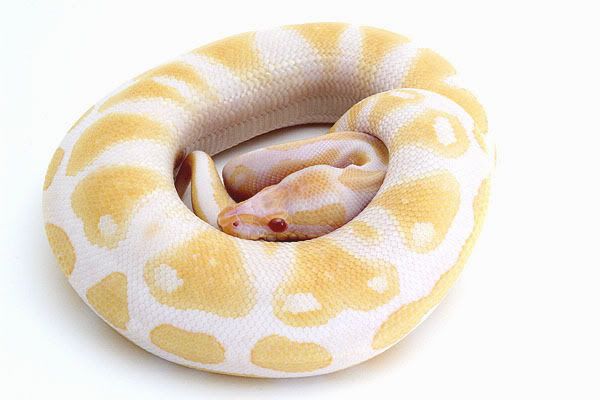
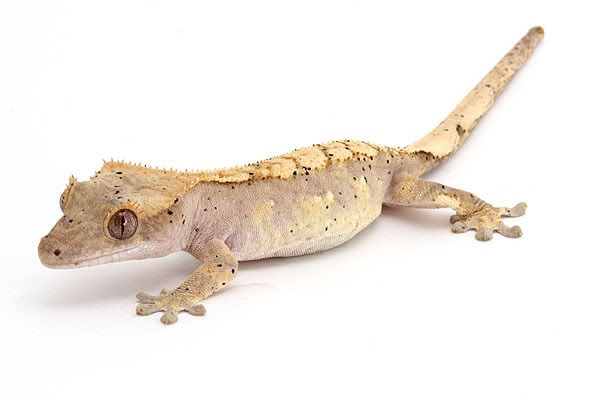
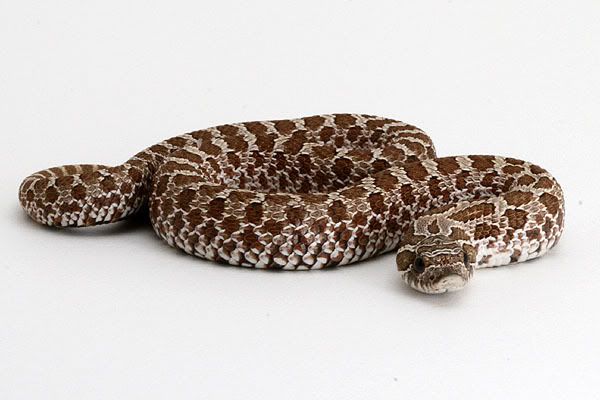
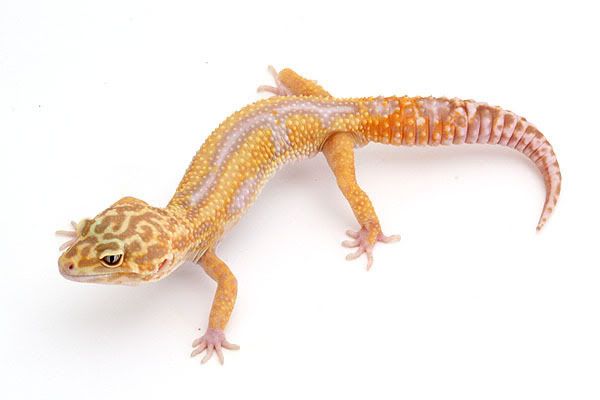
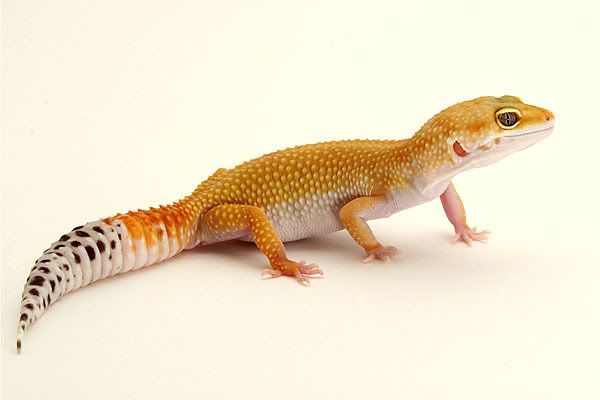
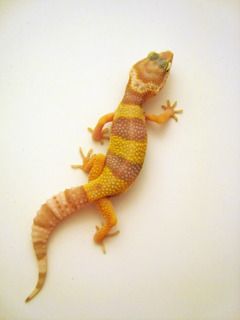
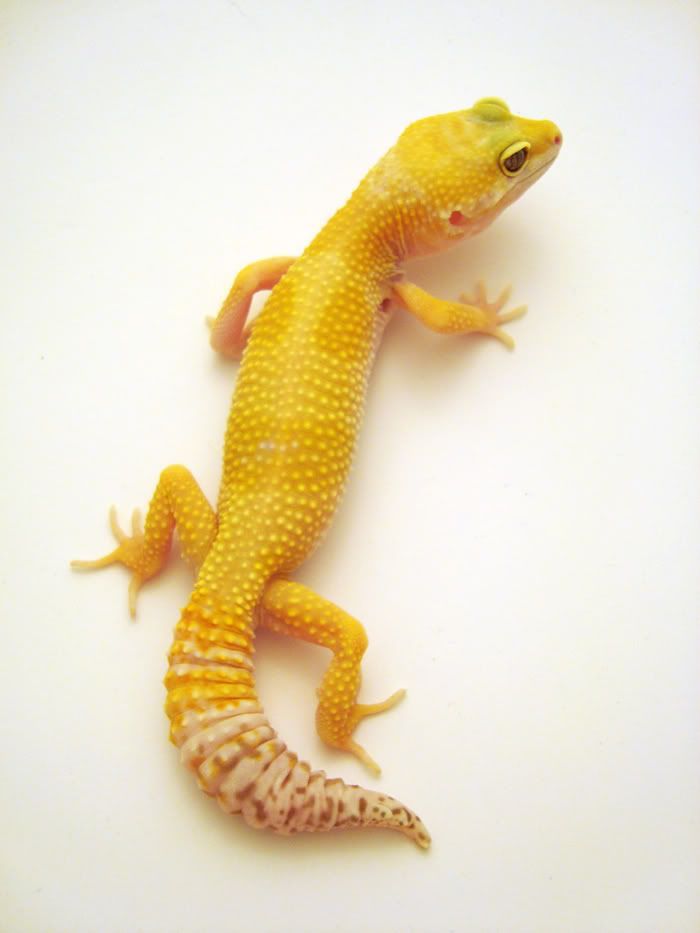
See What it Produces
After literally 2 minutes with the light box and a few snaps later here is a shot I took of one of my lenses. Obvious improvements could be made here but this is just a quick image to show you how simple using this box can be.

But Wait, There's More
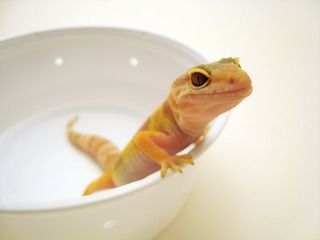
Here is another trick I started doing. Sometimes I like to shoot the object from a top view. If you cut a hole in the top of the box, this is possible. Be careful not to cut too much, you'll want to score the part you don't cut, that makes it bend with ease.

Here is a sample of shooting a necklace through the hole I just cut in the top of the box.

I hope you enjoyed this tutorial. I'm hoping that it was easy enough to follow. From start to finish this project should take no longer than 30 minutes.
|
Source... http://jyoseph.com/diy-light-box-for...t-photography/
|
|
|
|
|
04-22-2010, 10:46 PM
|
#2
|
|
|
|
|
|
|
|
04-22-2010, 10:55 PM
|
#3
|
|
|
WOW! Those pictures are amazing! Is this thing durable? Do the colors of the foam board fade after a while?
I once built a lightbox using a cardboard box and normal while printing paper. My biggest problem was that the paper turned yellow, rather frequently. I'm wondering if you've had similar issues with this set up?
|
|
|
|
|
04-22-2010, 10:57 PM
|
#4
|
|
|
Sorry...
Quote:
Originally Posted by polasian

I once built a lightbox using a cardboard box and normal while printing paper.
|
Should read..."white."
|
|
|
|
|
04-23-2010, 01:53 AM
|
#5
|
|
|
Very awesome. I built a poor-man's lightbox out of posterboard and a sterilite tub but I might like this even better. Thanks for posting!
|
|
|
|
|
04-23-2010, 03:24 PM
|
#6
|
|
|
Quote:
Originally Posted by polasian
WOW! Those pictures are amazing! Is this thing durable? Do the colors of the foam board fade after a while?
I once built a lightbox using a cardboard box and normal while printing paper. My biggest problem was that the paper turned yellow, rather frequently. I'm wondering if you've had similar issues with this set up?
|
Thanks, and yes they are pretty durable. and no I haven't had them yellow out. But I used to replace them every year until I came up with a foldable design. My current folding one is 2 years old or so with no yellowing.
To make them foldable, I make mine with a slight modification. I tape the sides to the back, but use tape on the inside and outside so it works like a hinge. I also leave the bottom and top free and unattached. This way I can fold the sides in and tuck the top bottom and folded up middle and sides away to store them in a smaller area.
Also, my camera is a nice DSLR with a detachable flash that I can use off of the camera. So I use this instead of all the clamp lights.
|
|
|
|
|
04-25-2010, 05:47 PM
|
#7
|
|
|
Excellent...thanks for the info, Matthew! This particular lightbox is now on my to-do list  .
|
|
|
|
|
05-28-2010, 02:55 PM
|
#8
|
|
|
|
|
|
|
|
06-15-2010, 11:10 PM
|
#9
|
|
|
absolutely amazing pictures! I have to make one now.
|
|
|
|
Join
now to reply to this thread or open new ones
for your questions & comments! FaunaClassifieds.com
is the largest online community about Reptile
& Amphibians, Snakes, Lizards and number one
classifieds service with thousands of ads to look
for. Registration is open to everyone and FREE.
Click Here to Register!
|
 Posting Rules
|
You may not post new threads
You may not post replies
You may not post attachments
You may not edit your posts
HTML code is Off
|
|
|
All times are GMT -4. The time now is 08:06 AM.
|

|


 Linear Mode
