• Responding to email notices you receive.
    **************************************************
    In short, DON'T! Email notices are to ONLY alert you of a reply to your private message or your ad on this site. Replying to the email just wastes your time as it goes NOWHERE, and probably pisses off the person you thought you replied to when they think you just ignored them. So instead of complaining to me about your messages not being replied to from this site via email, please READ that email notice that plainly states what you need to do in order to reply to who you are trying to converse with.

  • IMPORTANT! PLEASE READ!! About the Google Adsense ads being displayed

    =====================
    Posted 08/15/2025
    =====================


    Yeah, I know. They are a pain in the butt. But they pay the bills to keep my server running. Just a fact of life, I am afraid.

    Want to get rid of them? Simple. Just become a Contributor level member or above and they will be gone. -> Please click HERE."

    Is that too much for me to ask of you to keep this site running? Well, sorry about that. I too wish I could get everything for free. But alas.....

    =====================
    Addendum: 01/10/2026
    =====================


    Google Adsense ad revenue for December, 2025 was just $30 over the cost of the lease for the server running this site. So, in effect, the money providing the incentive for me to continue running this site is coming SOLELY from the paid memberships and sponsorships here. Which honestly ain't much....

The Frugal Herper's Snake Rack

rabernet

New member
Joined
Jul 8, 2005
Messages
672
Reaction score
61
Points
0
Location
Marietta, GA
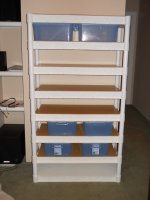
Design was shared by Justin Kobylka and is what he is using for his hatchlings and juvenile animals. Thank you Justin for such a wonderful design!

This is actually modified from his original design and yields more shelves.

Here's what you will need:

Tools:

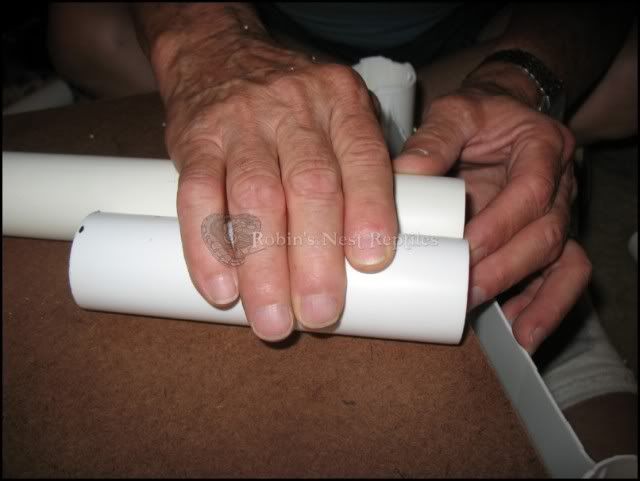
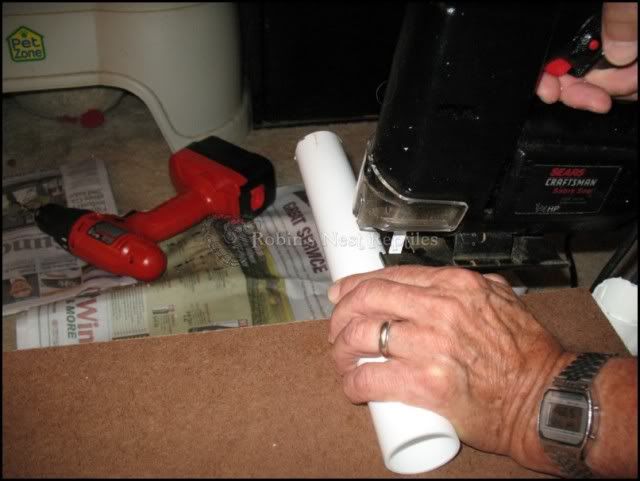
Electric Saw (I did use a hand hack saw last year to cut all the legs by hand - TRUST me - it can be done - but use an electric one if you can - your hands will thank you!!!!)

Electric Drill

Materials:

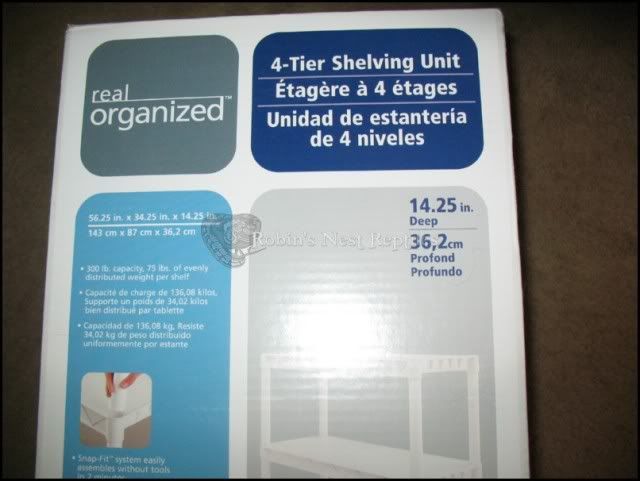
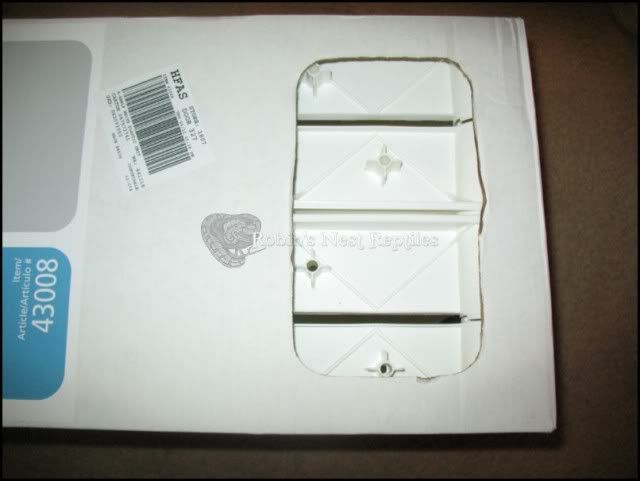
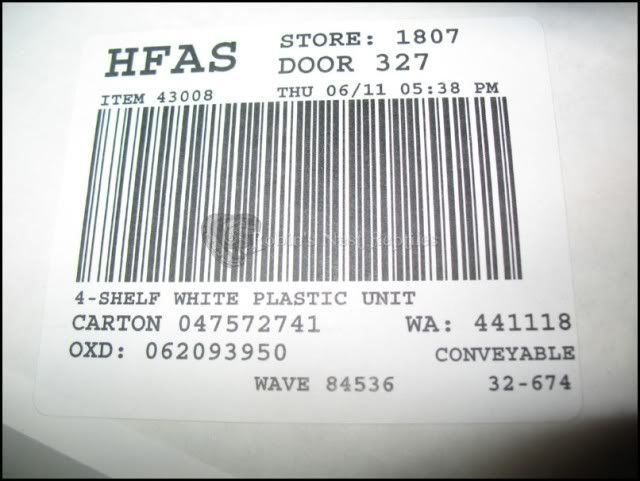
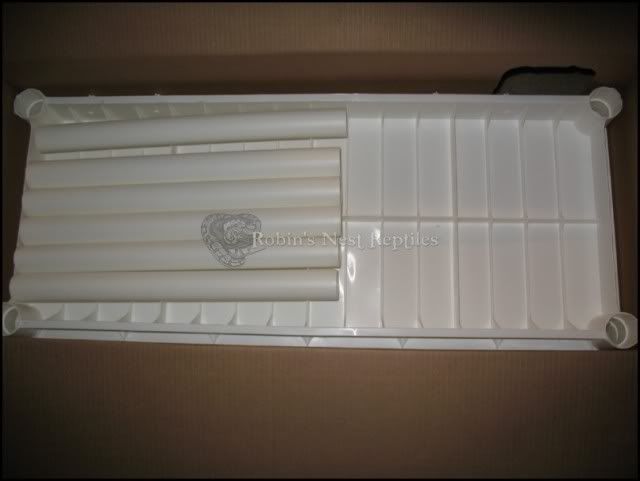
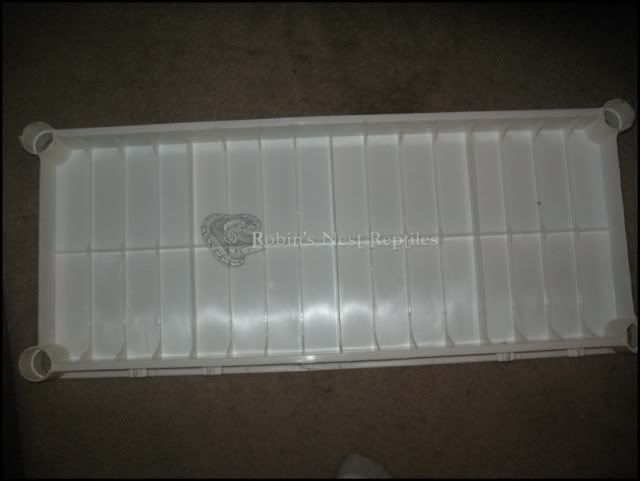
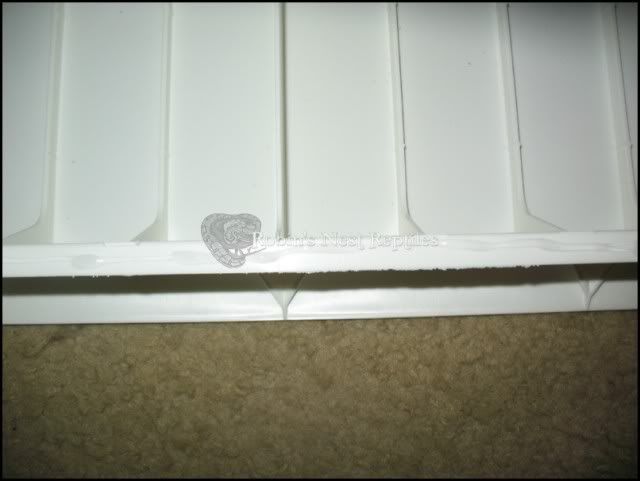
Two plastic shelving units from Lowe's, Item #43008 is white, they do have it in black as well, but I've only used white. This particular model is only carried at Lowe's for $19 for a set.

IMG_5523.jpg


IMG_5524.jpg


You know you have the right one if two shelves together in the box have a "diamond" shape:

IMG_5525.jpg


IMG_5529.jpg


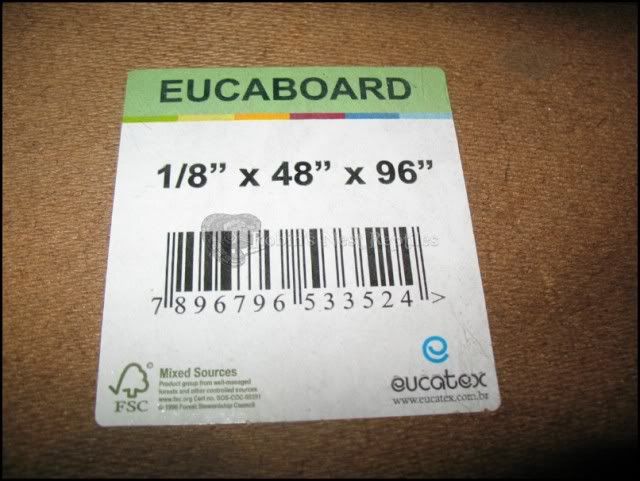
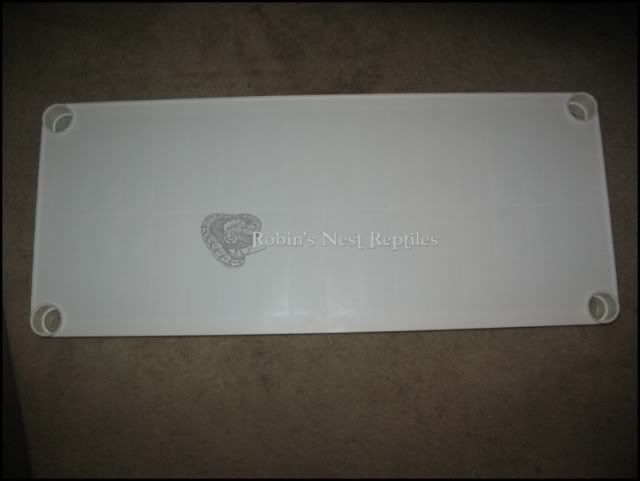
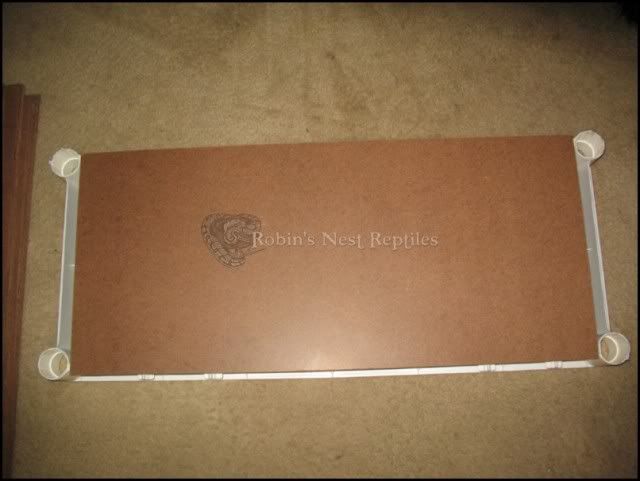
A sheet of Eucaboard from Home Depot, measuring 1/8" x 48" x 96". It's essentially pegboard without the holes. This is about $7.00

IMG_5532.jpg


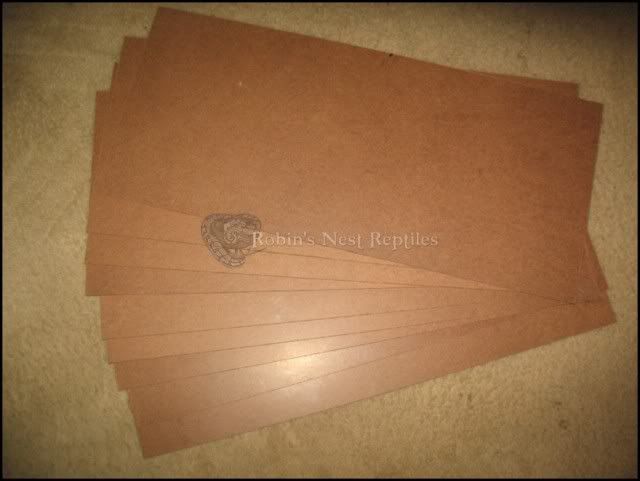
Ask Home Depot to cut into 9 panels of 13.5" x 30.25". Should take 6 cuts - my Home Depot gave me the first 2 cuts for free, and the other 4 cuts for $0.25 each. So - $1.00 to cut.

They'll look like this:
IMG_5530.jpg


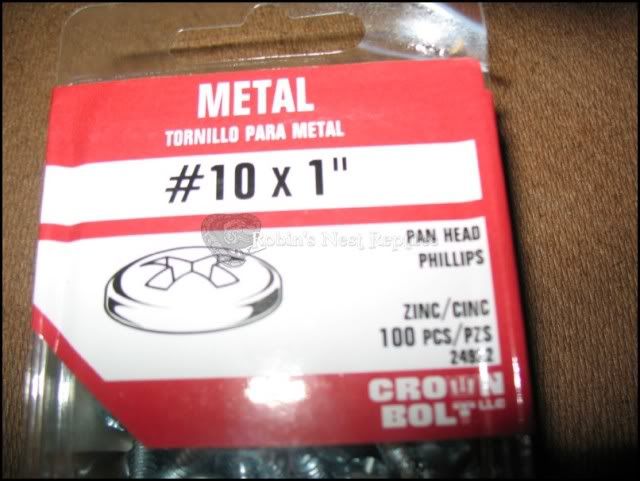
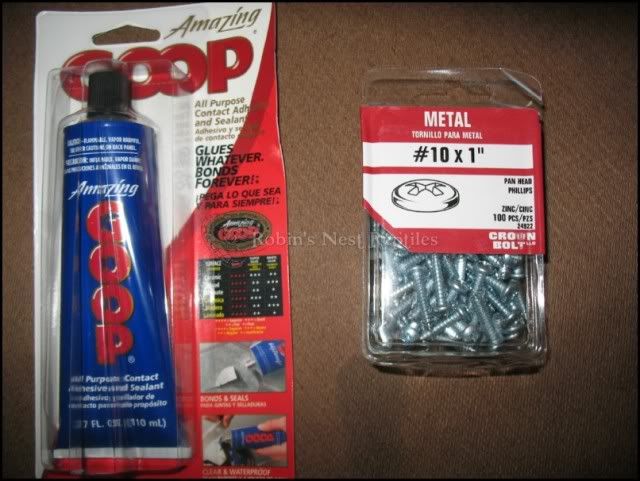
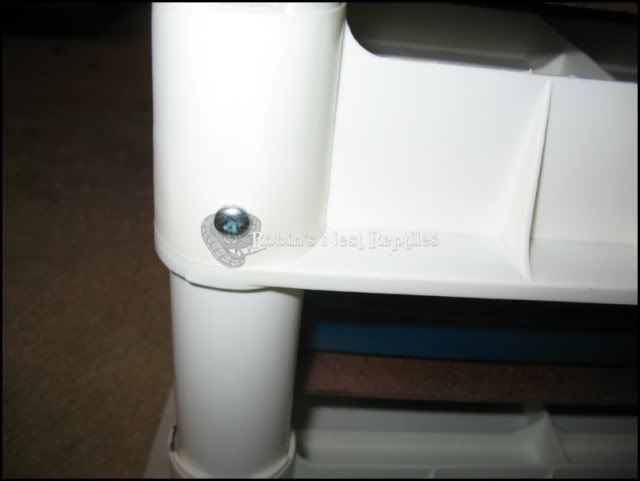
While you're at Home Depot, grab you a small box of 1" screws, Justin uses Drywall, I couldn't find them, so I grabbed these for about $5:

IMG_5535.jpg


Also get some Goop glue (about $3)
IMG_5537.jpg


IMG_5533.jpg


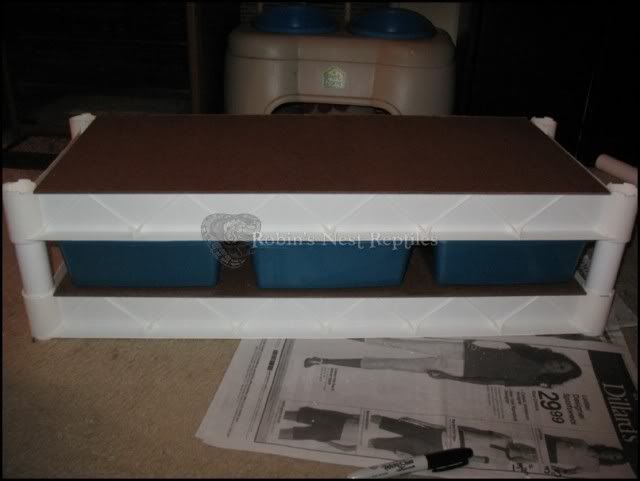
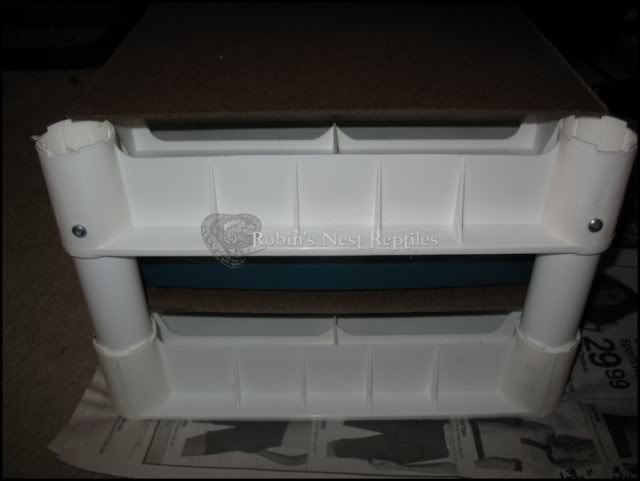
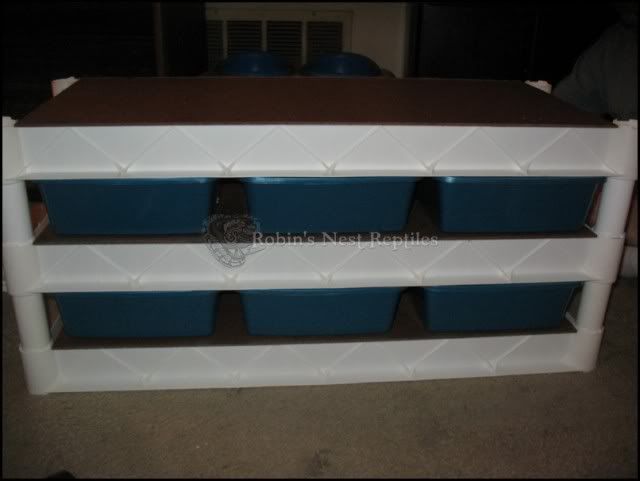
Now decide if you're going to make a juvenile rack, a hatchling rack, or a combo rack. I did a combo rack.

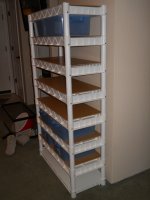
Small kitty litter pans from Walmart and 6 quart Sterilite shoebox tubs also from Walmart. Out of 2 shelving units, I'm getting 7 shelves - 15 kitty litter pans, 8 shoebox tubs. Van Ness small kitty litter pans are about $2 each, and the shoebox tubs are about $1 each.

Total expenditure (minus the heat tape and thermostat) for this rack is $94 and I can house 23 animals in it.

Next post - Assembly
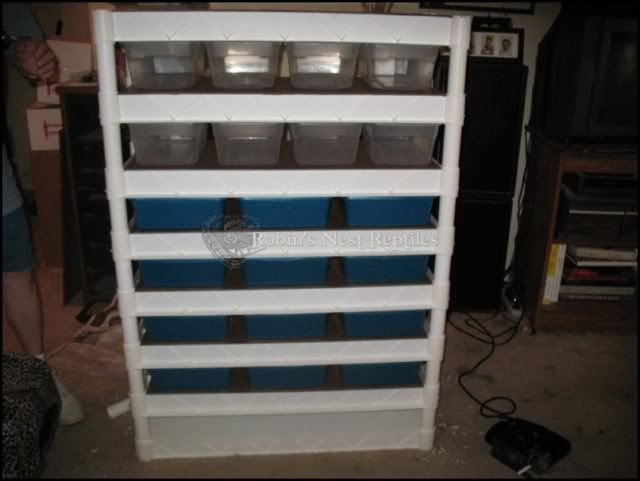
 
When you open the shelving unit boxes, you'll get this:

IMG_5541.jpg


Two sides and the back of the shelving unit has a lip to it - you want to make sure as you put this rack together, that the lip is at the back - it's a stopper for your tubs, and one reason why this particular shelving unit was chosen for this design:

IMG_5539.jpg


Top of a shelf:
IMG_5542.jpg


Bottom of a shelf:
IMG_5543.jpg


On bottom of shelf - apply a thin layer of Goop along the long edges:
IMG_5547.jpg


Place a panel of the cut Eucaboard on top and set aside to dry (I dried for about 24 hours)

IMG_5548.jpg


Repeat on six more shelves (if you are using the 2 storage unit design). I did not put any on the last shelf, because that last shelf was the base, and the top was what the bottom tubs sat on, and the bottom of the shelf is on the floor.

After 24 hours comes the fun part!

For the kitty litter pans, we cut the legs to six inches (a little short, so that you can adjust the top shelf on each level, then use the screws as stoppers). A note here - you want to cut about 1/4" short on the very first (or bottom) level, because it's not using the Eucaboard, and therfore, needs to be a little shorter to account for that height difference between shelves.

Here's my father measuring a six inch cut with one that we used as the "master" cut:

IMG_5586.jpg


IMG_5587.jpg


And Dad cutting with the electric saw:

IMG_5588.jpg


One shelf done!!!

IMG_5581.jpg


We drilled a hole big enough to use the screw as a stopper, once we were happy with the "seating" of the shelf on top of the tubs:

IMG_5582.jpg


IMG_5583.jpg
 
Two shelves done:
IMG_5589.jpg


And for the six quart tubs, the legs need to be cut to 7". The final rack, just needs heat tape and a thermostat and it's ready to go:

IMG_5594.jpg


You'll notice that my bottom shelf doesn't have any kitty litter pans - my two Walmarts ran out of blue, so I need to wait for them to get some more in - so my rack can be uniform - but it's 5 layers of juvie tubs and 2 layers of baby tubs!
 
Excellent DIY, thank you. I love the amount of detail you put into it. I see a couple new juvvie racks in my future!
 
Yah! It's the stupid ? You Knew Was Coming!

How would you add belly heat without it getting torn up from pulling the tubs in and out? I mess with my snakes a lot. I've seen something like this before but didn't make it because the worn tape thing worries me.

Awesome pics and thanks for the actual item number! :thumbsup:
 
There are probably a ton of options out there, but I use two pretty simple ways to work with heat tape here. First I was using aluminum tape, and just taped over the entire piece of heat tape to protect it from tubs sliding around on it.
http://www.reptilebasics.com/Aluminum-Foil-Tape-p-16170.html
You can get pretty much the same thing from the home improvement store in the ductwork section, I think that is it's original use. Just make sure it's rated for high heat.

Or you can use a router/planer to cut a shallow trench for the tape to sit down in. Doesn't take much, just barely take the surface off.
 
Robin, you had me at Goop. You had me at Goop....
 
There are probably a ton of options out there, but I use two pretty simple ways to work with heat tape here. First I was using aluminum tape, and just taped over the entire piece of heat tape to protect it from tubs sliding around on it.
http://www.reptilebasics.com/Aluminum-Foil-Tape-p-16170.html
You can get pretty much the same thing from the home improvement store in the ductwork section, I think that is it's original use. Just make sure it's rated for high heat.

Or you can use a router/planer to cut a shallow trench for the tape to sit down in. Doesn't take much, just barely take the surface off.

First, thanks everyone for your feedback!

The aluminum tape over the heat tape (at the very least, the long edges of the heat tape) is how I work with the heat tape.

Give your tubs a little give to allow for the heat tape, and if you have too much of a gap, you can always add felt pads for feet to the tubs to lift them a bit.

One tool I forgot to mention that's helpful is a rubber mallet. We used that a lot for tapping the top shelf down to exactly the "snugness" that we wanted.

Shrap - Goop is a wonderful thing, isn't it? LOL
 
Goop is good as long as it doesn't get too cold. It becomes very brittle at real low temps. I say this for anyone who builds one these to help out on room but takes it down for storage. If it is in storage and the temps drop below 30 degrees, the goop will likely let go and you'll have to redo it.
 
I was sitting here reading--not logged in.....and this got me so excited that I had to log in to say so!!!

Thanks for sharing this great idea!!
 
OMG - felt feet to protect the taped tape.

You guys rock!

I use latching lids on my tubs, is there any reason for me not to just skip the board and glue steps?

My brother works at home depot and says they price match advertisements plus 10% off. I'm going to see if they match and beat the shelf price or if it has to be a sale item. That would save more money and gas.
 
Last edited:
OMG - felt feet to protect the taped tape.

You guys rock!

I use latching lids on my tubs, is there any reason for me not to just skip the board and glue steps?

My brother works at home depot and says they price match advertisements plus 10% off. I'm going to see if they match and beat the shelf price or if it has to be a sale item. That would save more money and gas.

No reason you can't use them - just check the length of them to make sure they aren't too long for the rack - and you'll need to calculate the measurement you need to cut the legs to accommodate your particular tub.

I believe that the depth that the leg goes into the bottom shelf of each level was 1 3/8" then calculate the height of your tub. We cut a bit shorter than 1 3/8" from the top of the tub for the portion of the leg that went into the shelf that seated on top of the tub, to allow for more give and to give us some "wiggle" room for how snug we wanted the tubs.

Thus the reason for the screw stoppers to keep the shelves in place as we continued to add levels.

Of course, with no lids on my tubs, I want a more snug fit than you may want with tubs with lids.
 
GREAT IDEA Robin, I do have a question although it may have been answered already and I just didnt pick up on it.. How were you able to go lidless? Did you put the Ecoboard on the bottom the shelving?
 
Great so far!

I know this thread is a bit old, just figured I would post my results with this rack design so far. :) We still need to add heat tape and more tubs since Walmart ran out of the ones we are using.

The shelving sets cost us $25 each and the tempered hardboard cost us $20 for two big sheets which we cut down on our own table saw.
 

Attachments

  • DSCN0673.jpg
    DSCN0673.jpg
    178.1 KB · Views: 120
  • DSCN0674.jpg
    DSCN0674.jpg
    213.7 KB · Views: 113
Back
Top